My TechniqueI use both very traditional Japanese methods of printing, similar to those used by ukiyo-e printers, and also very modern techniques, materials and tools. The traditional tools are beautiful and pleasant to use, but they are difficult to find and expensive. Modern tools are very practical, easy to find, and easy to maintain.Nana's demonstration at the Double Elephant Print Workshop >>Video 1, Video 2 1. Making a plan First of all, I need to make a detailed plan of the picture on tracing paper, because a separate plate is required for each colour. I use an L-shaped registration for this. | 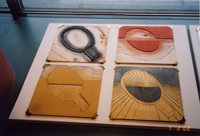
| |
| ||
|
2. Colour separation I then transfer each image to the wood block, using carbon paper. Due to the nature of printmaking, the picture needs to be reversed. |
| |
|
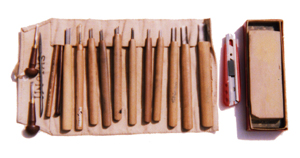
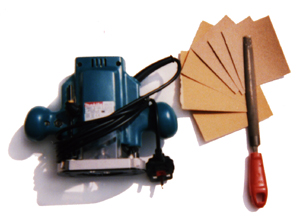
3. Cutting and carving I use modern cutter knives, round-shaped cutters and V-shaped cutters. Cutters need to be very sharp so I use a whetstone to do this. I also use an electric machine called a router, which makes removing extraneous wood much easier.After the rough cutting, I smooth the surfaces, using sandpaper for the perfect finish. For the intaglio plate, I coat the wood again and again with satin varnish in parts that I wish to highlight, and carve all the lines with a V-shaped cutter. | ||
|
4. Preparing the paper Japanese paper is extremely strong and has a long life. The fibres of the paper are very long and twined together. To prepare for printing, the paper should be cut to the same size and dampened. Then the damp sheets of paper should be layered with blotting paper , stacked up, weighted and left for one night. | 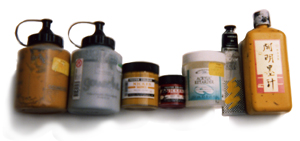
| |
|
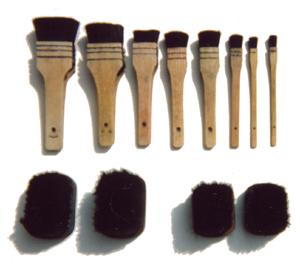
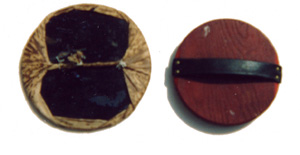
5. Printing (colour relief plates) I use water-based inks. Water is a very important element in all Japanese art. Japanese brushes can apply sufficient ink onto the wood and also remove any excess ink. When rubbing the designs and colours onto paper, the traditional baren, made from bamboo skin, still gives much better results than you would expect.The modern baren has a lot of tiny balls set in the surface allowing it to be moved freely whilst applying pressure to the paper. In this kind of printing, everything can be done by hand.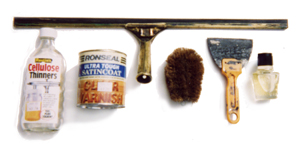
| ||
 |
||
|
6. Printing (intaglio plate for black ink) After the colour relief plates have been printed, I print an Intaglio plate with black ink. This plate works like an etching plate. First, I mix acrylic colours with retarder medium for this plate. Then, after applying ink to the plate I use a squeegee to clean away the surface ink, leaving the black ink only in the cut lines and wood grain. A traditional baren is used to press down the paper and receive the ink. | 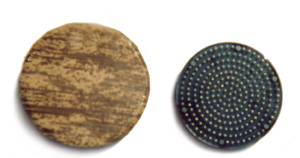
| |
|
7. After printing The prints are placed on a flat surface to dry. I put acid-free white paper tapes onto the four corners of the print for a flat dry. |